The
neck and most of the electronics and hardware for this guitar were
leftovers from a Mockingbird kit I got from GuitarFetish.com mainly to
have the body. The body was a beat-up Strat clone also from
there, purchased during a warehouse blowout sale just to use as test
bed for experimentation. But with all of these parts, I was just
a bridge away from having a complete guitar, and it seemed a shame not
to unite everything, so I ordered a Gibson-style wraparound bridge and
set to work. Further details below.
I
routed the neck pocket, pickup and instrument cavities, and drilled to
mount the bridge for the 24.75 inch scale of the neck. I had to
sand and shim the neck pocket to get a little back-angle for the neck
to work with the wraparound bridge, then heavily sand and patch this
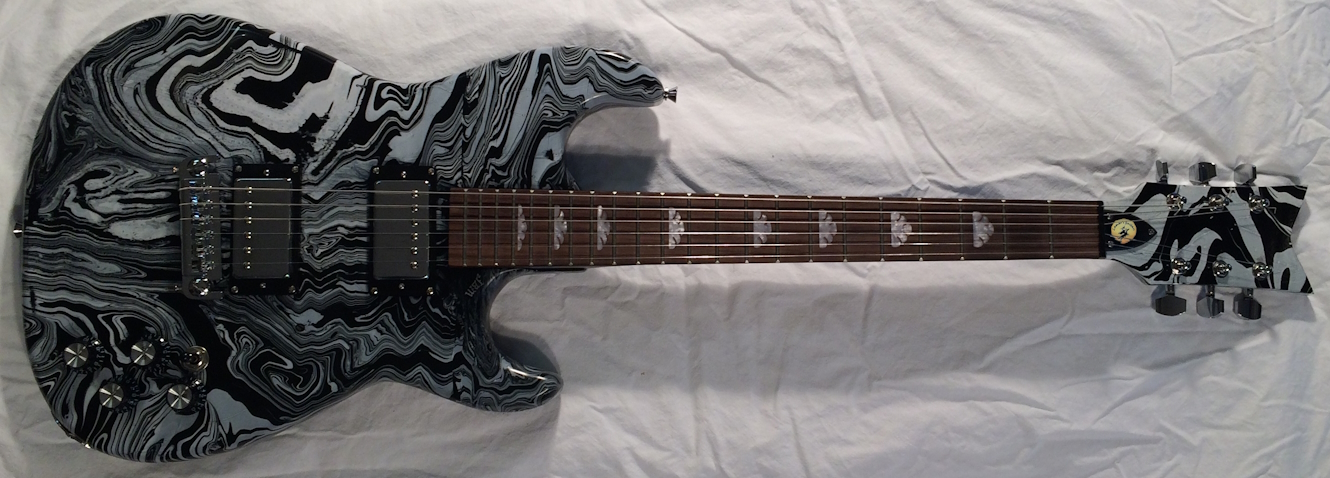
beat-up excuse for a body. I then primed everything in black. I
had been wanting to do a swirl paint job, where
you basically apply paint to the surface of water mixed with detergent,
then
dip the object to transfer the paint.
There are a hundred or so YouTube videos showing you how to do this, but
it still took a couple months of trial and error on scraps to work the kinks
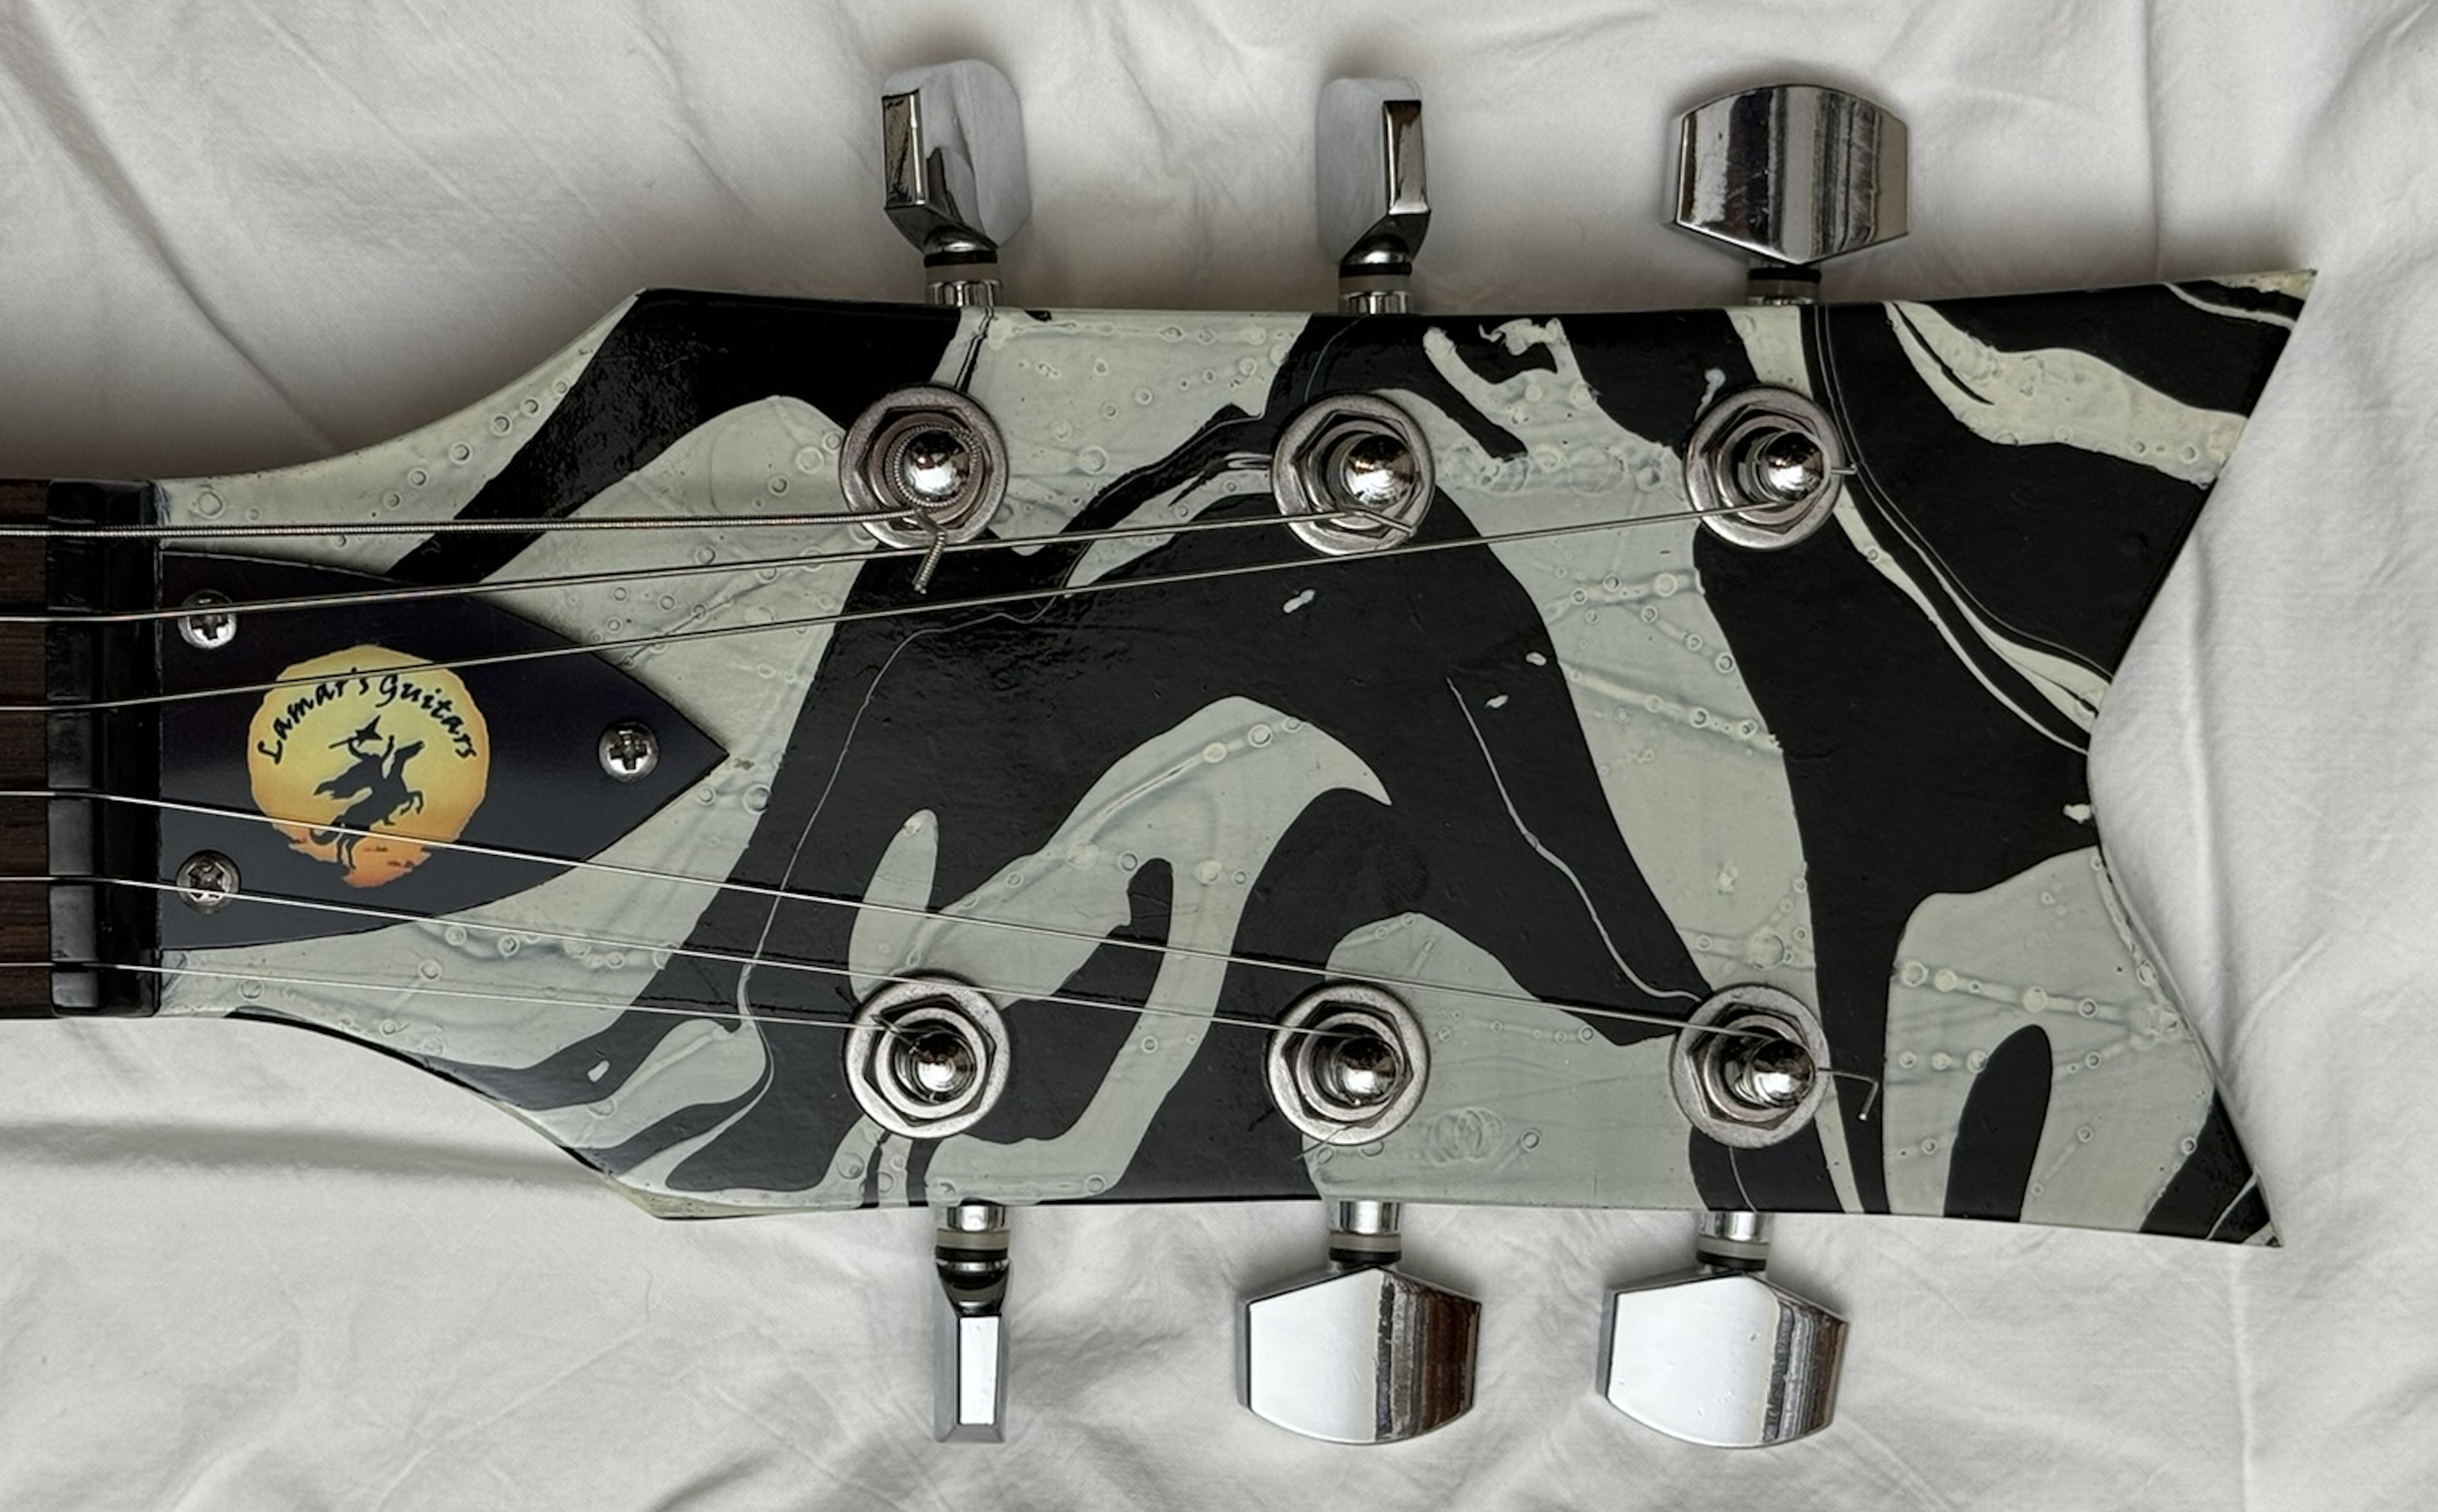
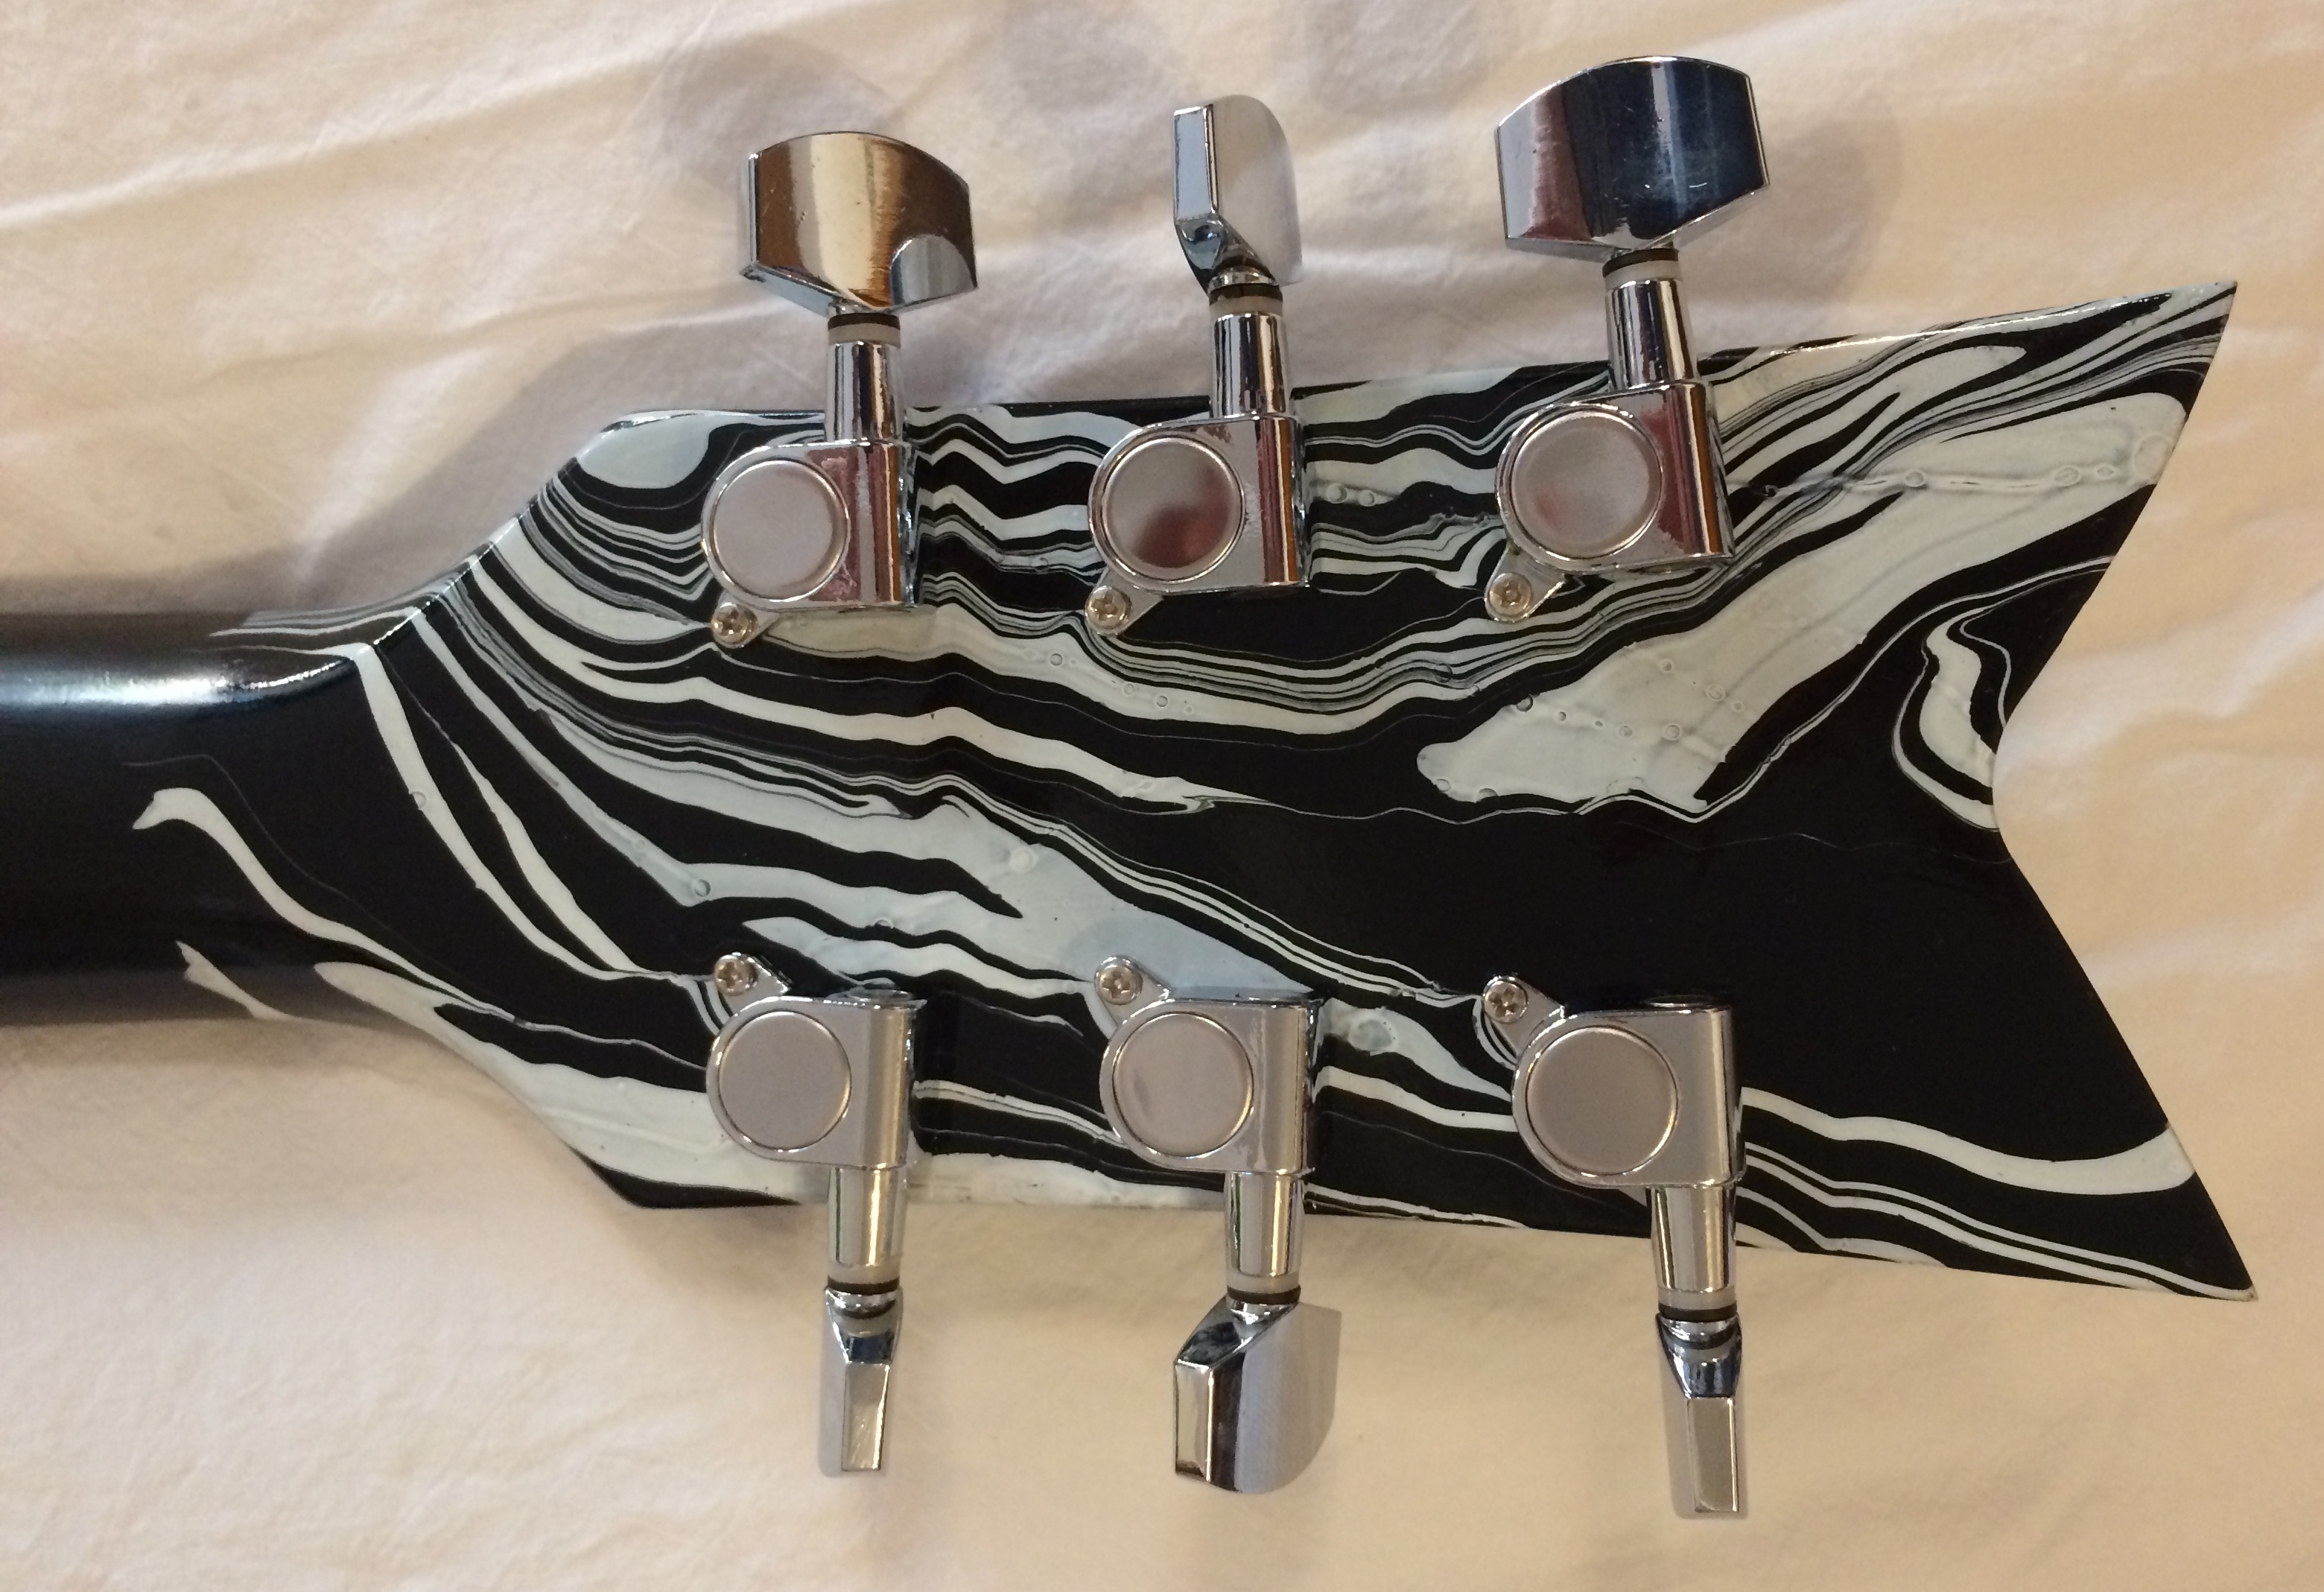
out. But on New Year’s morning 2016,
with the help of my wife, I was able to successfully dip the body. A week or so later I did the headstock. They’re not perfect, but they still came out
pretty good.
To clear-coat the body, I took the opportunity to
experiment with Solarez UV-curing polyester resin. You have to do this indoors, out of even
indirect sunlight, and the first thing you notice is that the fumes start
killing brain cells the instant you crack open the can, so a more professional
filter mask became necessary. But after
painting this on and giving it some time to level out, you take it outside (or
use a UV lamp) for a few minutes, and it hardens. You then start sanding to smooth everything
out, working up through 2000 grit, and then buffing compounds, to bring it to a
shine. This was a 2-3 week learning experience,
but I finally got there. The neck was
clear-coated with simple satin wipe-on polyurethane.
After that, assembly and setup were pretty
straightforward. The neck came with a
nut, which I filed probably just a little lower than absolutely necessarily,
but it still played pretty buzz-free.
The string spacing is a tad narrower than you commonly see, but you get
used to it. Sound-wise, it covers the
typical two-humbucker spectrum pretty well, with some nice subtleties as you
blend the pickups.
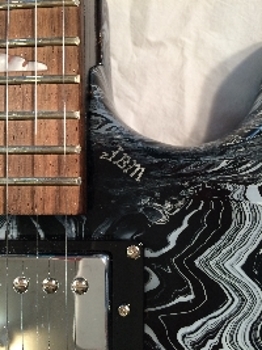
This was given to my nephew John Brandon and lovely wife Marley as a
wedding gift—thus the little JBM monogram at the cutaway on the body.
 Contact