
Headless Prototype B 2019
This is my second
prototype for a headless guitar. See below for sugar-coated summary of the
details. Suffice it to say there were
several setbacks, experiments, and mid-course corrections along the way.


The wood came from a home supply store. The body is piece of pine 2x12, capped with
0.25 inch poplar. The neck is the other
half of an oak 4x4 stair rail post I split for the first prototype.
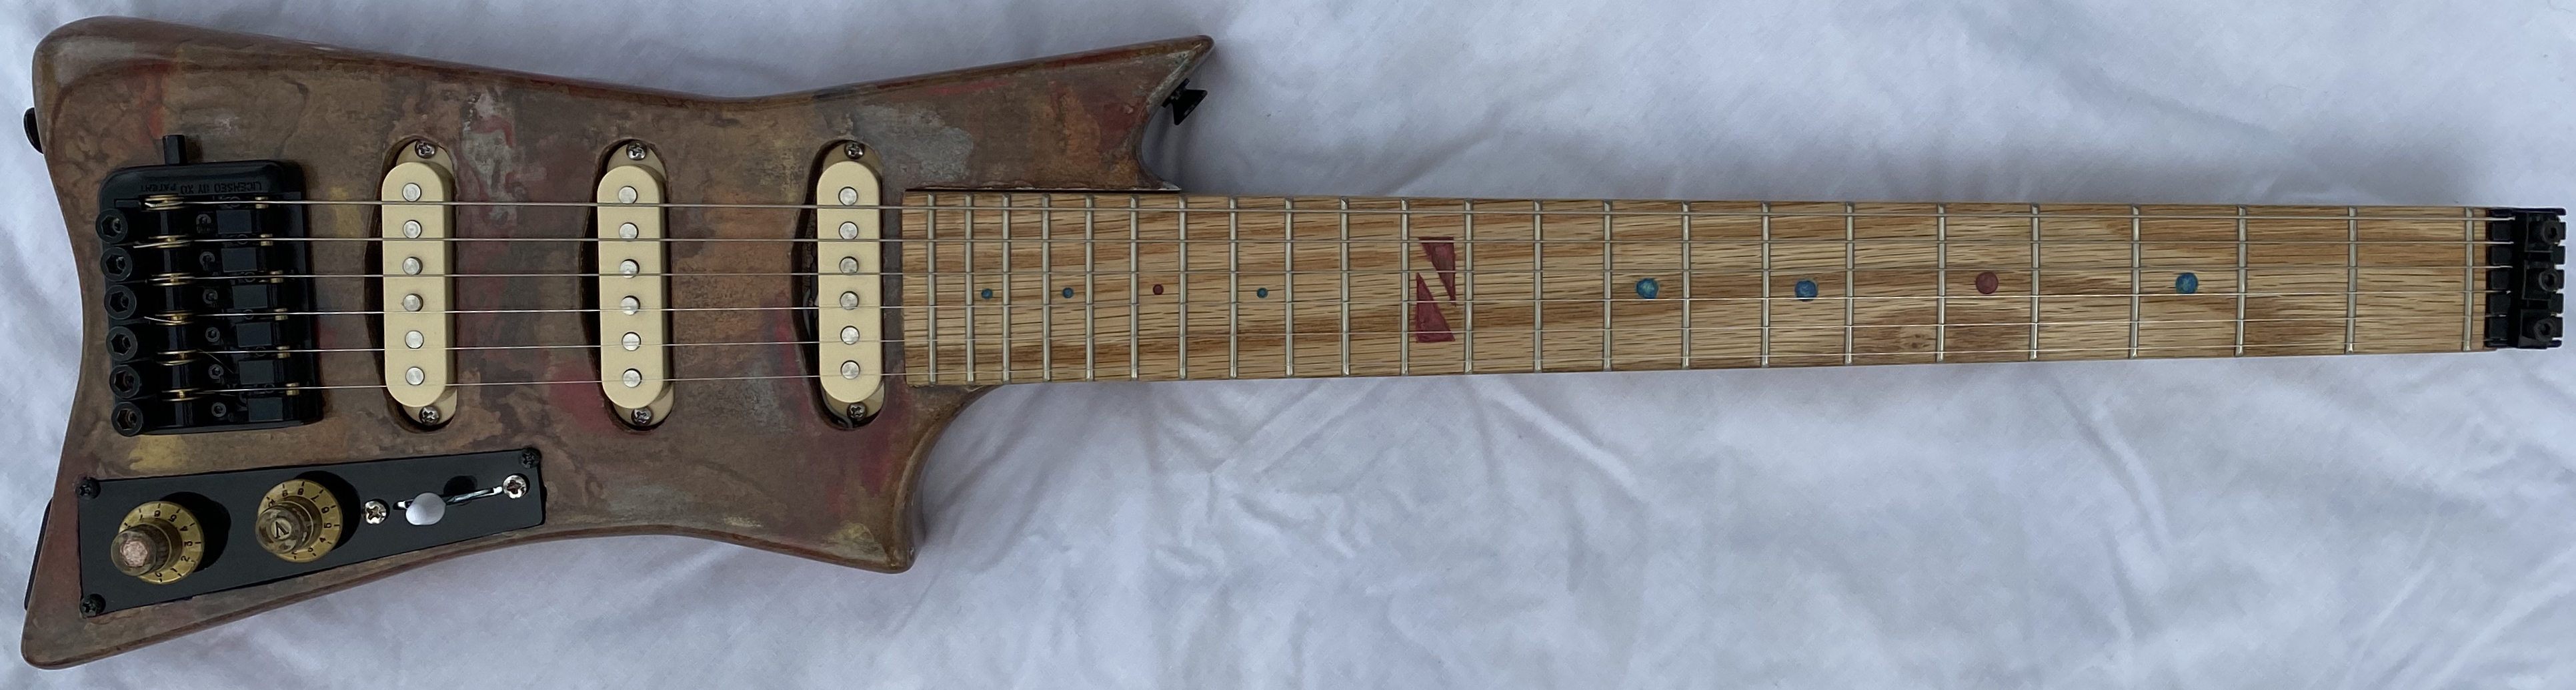
The headless nut and bridge are a type you find on EBay called
"KD Patent." The bridge
doesn't require the extensive routing necessary for the Steinberger style
bridge. This simplifies things and lets
you get by with a thinner body. You have
to look it over a bit to figure out how to thread the strings into the tuning
cogs, and you can't easily turn the tuners with your fingers, so they give you
a little wrench to do that; it magnetically snaps into the top edge of the
bridge.
The single coil pickups and electronics are very inexpensive
clearance items from Guitar Fetish. I used a low profile two-way truss rod
found on Amazon.
Learning from my mistakes on the first prototype, I drew out the
trapezoid shape of the neck, but didn't cut it, so I would have parallel edges
to help center the truss rod slot. I
marked the nut and fret positions using a 24.625 inch scale, then cut the fret
slots. The nut end was cut and beveled
to match the profile of the nut.
I then flipped the board over and used an edge guide on a plunge
router to rout the truss rod slot down the center, 0.25 inch wide, down 0.25
inch to the fretboard surface. The end
near the nut stops short of the end of the board, but has to be widened a bit
to accommodate the end of the truss rod.
That would've been neater if I had thought about it ahead of time; it
ended up requiring a little patching.
The nut was put in place to mark the truss rod access hole, which was
drilled through to meet up with the truss rod slot. I cut a matching piece of oak for the skunk
strip, inserted the truss rod, then glued in the skunk strip. That was then cut down flush to the board.
Next I cut the trapezoid shape of the neck, sanding smooth with
a belt sander. I marked fret position markers
and drilled for dot markers at all locations.
At the 12th fret, however, I used a Dremel
router and chisel to rout a double-triangle pattern.
I decided to mix some mica powder into Solarez UV-curing resin,
and use this to fill the position markers.
I was going for a variegated turquoise as the main color, with scarlet
as an accent color at the 5th and 12th frets, but they came out more like green
and pink. I wanted to accent the 5th
fret because I find playing a headless guitar a bit disorienting, and the 5th
fret is a helpful touchstone. I filled
the routs a little at a time, curing in the sun layer by layer, since I was
afraid the full depth of the rout wouldn't cure well with all the pigment
involved. The final layer was clear
Solarez, which I sanded smooth after curing.
You don't get perfectly crisp edges, since some of the Solarez wicks
into the wood grain, but it was still an interesting experiment.
After that came 14-inch radius sanding of the fretboard, 60
grit, followed by 100 grit, then 200. A
thin layer of Solarez grain filler was applied to the fretboard. After curing I radius-sanded again at 220
grit.
1/16 inch side dot holes were drilled, and filled with Solarez
and mica mixtures matching those on the fretboard.
The fret slots were checked again after radiusing, and cut a
little deeper where necessary to be about 1/8 inch deep throughout. I bent and cut the fret wire, then used a
drill press fret caul to press them in with a little wood glue. Sometimes this was very easy; sometimes I had
to widen the top of the fret slot a bit with a triangle file, or hammer a
bit. After a batch was inserted, I
clamped the radius sanding block into place over the frets for a few hours to
let them set. After all frets were in
place, the ends were nipped and dressed with a fret beveler. The frets were leveled with a leveling beam,
then 14-inch radiused with a sanding block at 220, then 320, then 400
grit. Frets were spot-checked for
rocking, and a few problematic spots were touched up. The frets were then crowned, then polished
with fret erasers at 180, 400, and 1000 grit, followed by 1200 and 2000 grit
sandpaper.
The back of the neck was then shaped, trying to generally match
the thickness and curvature of a Les Paul.
The coarse work was done with a rasp and belt
sander, moving to a curved sanding block at 60, 100, and 220 grit.
I designed a body pattern that was a little wider than the first
prototype, so that the instrument cavity wouldn't be so cramped, but would
still accommodate the pieces of wood I'll use for the final version of the
guitar. Using the pattern, I used a band
saw to cut the body shape out of the pine, and cut two pieces of 0.25 inch
poplar to put together as a cap over that.
The pine body was routed for the wiring channels. I drilled holes/slots in the poplar cap for
the switches and knobs, then glued the poplar cap in place. The body edges were rough-finished with a
router.
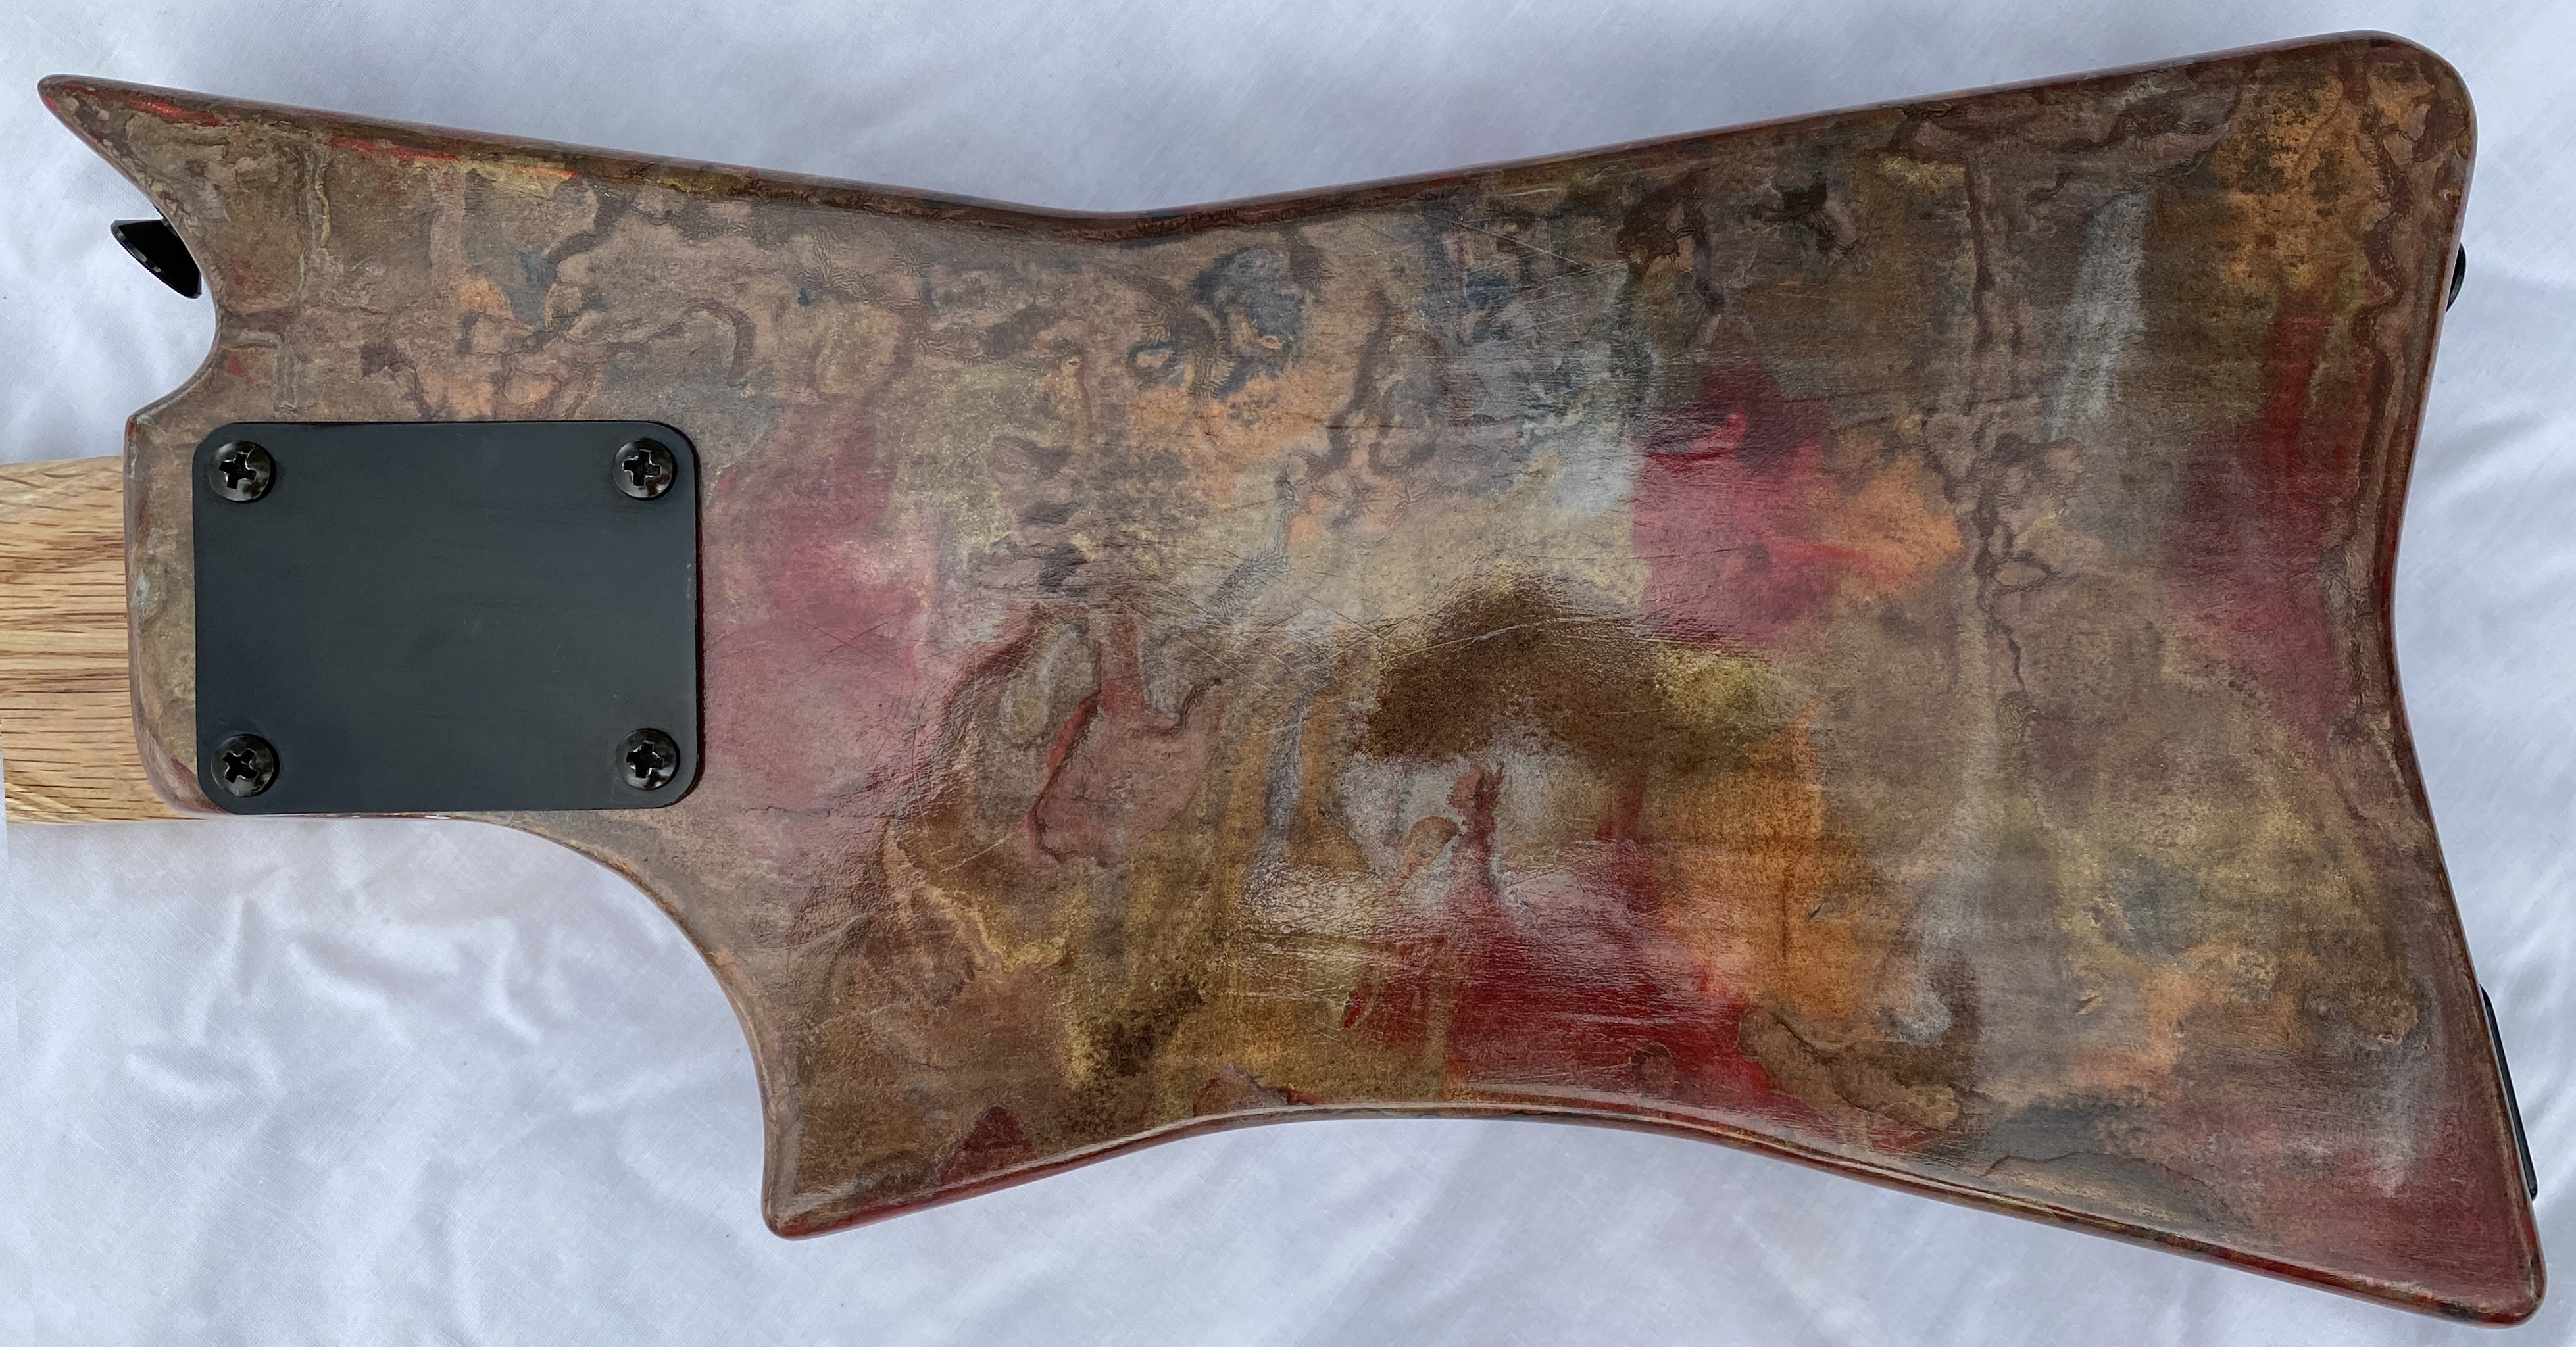
Using straightedge guides, the neck pocket was routed to match
the heel of the neck, at a depth of the more-or-less standard 5/8 inch. Neck mounting screw holes were drilled, and
the neck was mounted. Then the nut was
mounted to the neck.
The 24.625 inch scale line was marked on the body, the two E
strings were mounted to the nut and bridge, and bridge placement was worked out
to put the high E right at the scale line, tilting the low E string side longer
for intonation compensation. Screw hole
locations were marked to drill and mount the bridge. You have to remove some of the saddle pieces
to get at all the mounting screw holes.
After some tedium, all the strings were mounted and saddle heights were
adjusted. There was some buzz on the low
strings at the first couple frets, so they were further filed to relieve that.
I then removed all the hardware and neck. Final rounding of the body edges was done
with a router. The top edge of the body
where your right forearm rests was too sharp, so I rasped/sanded out some relief. The junction of the neck and body was less
than stellar, so some patching was done there, along with several other spots
on the body. Also, since the holes for
the pickup selector and knobs didn't look great, I decided to change to a front
instrument cavity. I cut a cover from a
piece of plastic to accommodate a 5-way switch, 1 volume, and 1 tone control,
then routed the cavity to match. Next I
used a template to rout out 3 single coil pickup
cavities, intersecting the wiring routs I made earlier. Final finishing was done via belt, drum, and
hand sanding, progressively to 320 grit.
The body was sprayed with 3 coats of white primer, then a
camouflage-type appearance using copper, gold, silver, bronze, and red Rustoleum. For the
final finish, I wanted a swirled mixture of gold, bronze, copper, silver, and
red. After a great deal of
experimentation, this was achieved by mixing mica powders into clear
polyurethane, and dobbing regions with combinations of these colors. The body was rotated to do both sides and the
edges; rotation and touch-up was continued using a fine brush to spread out
blobs and draw colors into each other, until it dried enough that it was no
longer running.
After drying, it was clear-coated several layers of wipe-on
polyurethane, sanding with 220 and Scotch-Brite 400
grit equivalent. It never got perfectly
smooth, but eventually got to the point I could coat with Solarez. Unfortunately, this still resulted in a
finish much more uneven than I hoped for.
There was a great deal of sanding with various grades of sandpaper and
Scotch-Brite, with further coats of Solarez to try to
fill in the low areas. Sometimes I
sanded through the finish and had to patch spots. It never got perfectly smooth, but eventually
became acceptable. Finally, it was
buffed with Meguiar's Ultimate Compound, then Meguiar's Ultimate Polish.
I wiped Solarez grain filler onto the back of the neck with
lint-free towel, cured it, and sanded to 220 then 320 grit. This was repeated twice. A thin coat of satin polyurethane was then
wiped on the fretboard and back of neck.
After it was dry, I sanded the back of neck with 0000-equivalent Scotch-Brite. Another round
of polyurethane and sanding was then done on the back of the neck.
With the finish done, I installed the electronics and the
instrument cover and output jack. The
bridge, nut, and strap buttons were placed, the neck was mounted to the body,
and it was strung up.
It felt and sounded pretty good right from the start. Weight is
about 4.5 lbs. I played it over several
weeks, adjusting string and pickup height and intonation. I found it held tune pretty well from day to
day. You wish you could turn the tuning
knobs with your fingers, but the little wrench works nicely. It sounds very much like a typical
Strat--much better than it has any right to, given the materials involved. If it continues to be usable, I'll give it to
someone after the final headless guitar is built.