 Contact
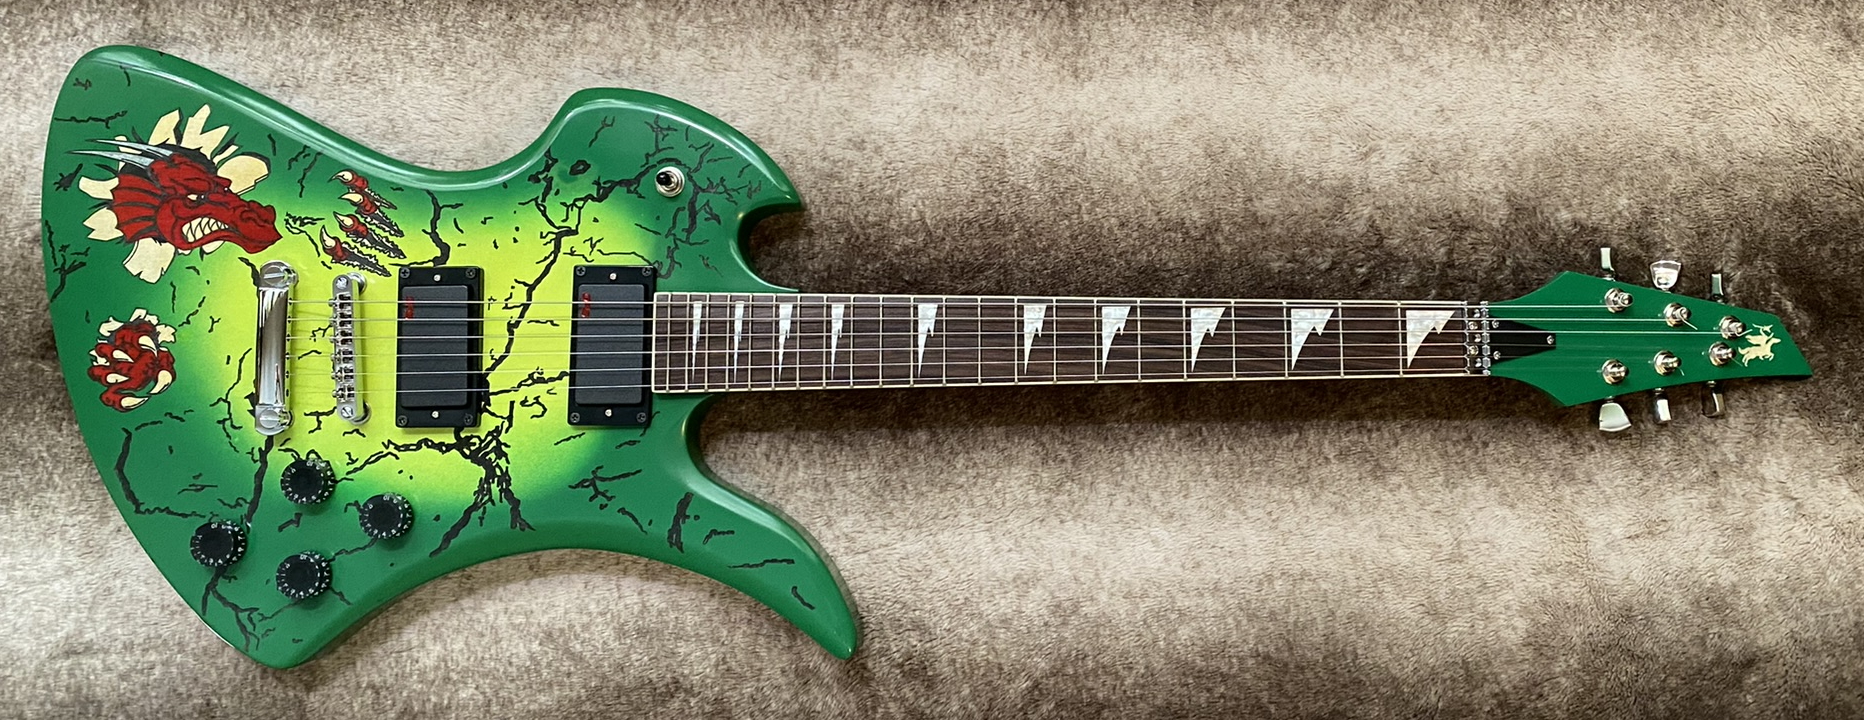
Dragon I 2022


I changed my mind a dozen times about how to finish it, but I finally decided on a dragon motif. And along the way I obtained a CNC machine, so I decided to take the opportunity to learn how to use the machine for engraving and inlays. That's not a learning curve; it's a parabola. There were about five months of adapting graphics, tool path creation, and testing on scrap before I could finally move on to the real thing.
Summarizing as briefly as possible:
Some
additional routing of the body was required to set the neck and get the
electronics to fit. I also needed to rout a battery compartment,
which was actually the first exercise for the CNC machine.
The body was a very plain poplar, so it was going to need an opaque
paint job. I primed and then sprayed a yellow-to-green sunburst,
covered with several coats of AquaCoat clear lacquer, which dries
quickly and isn't nearly as noxious as solvent-based lacquer.
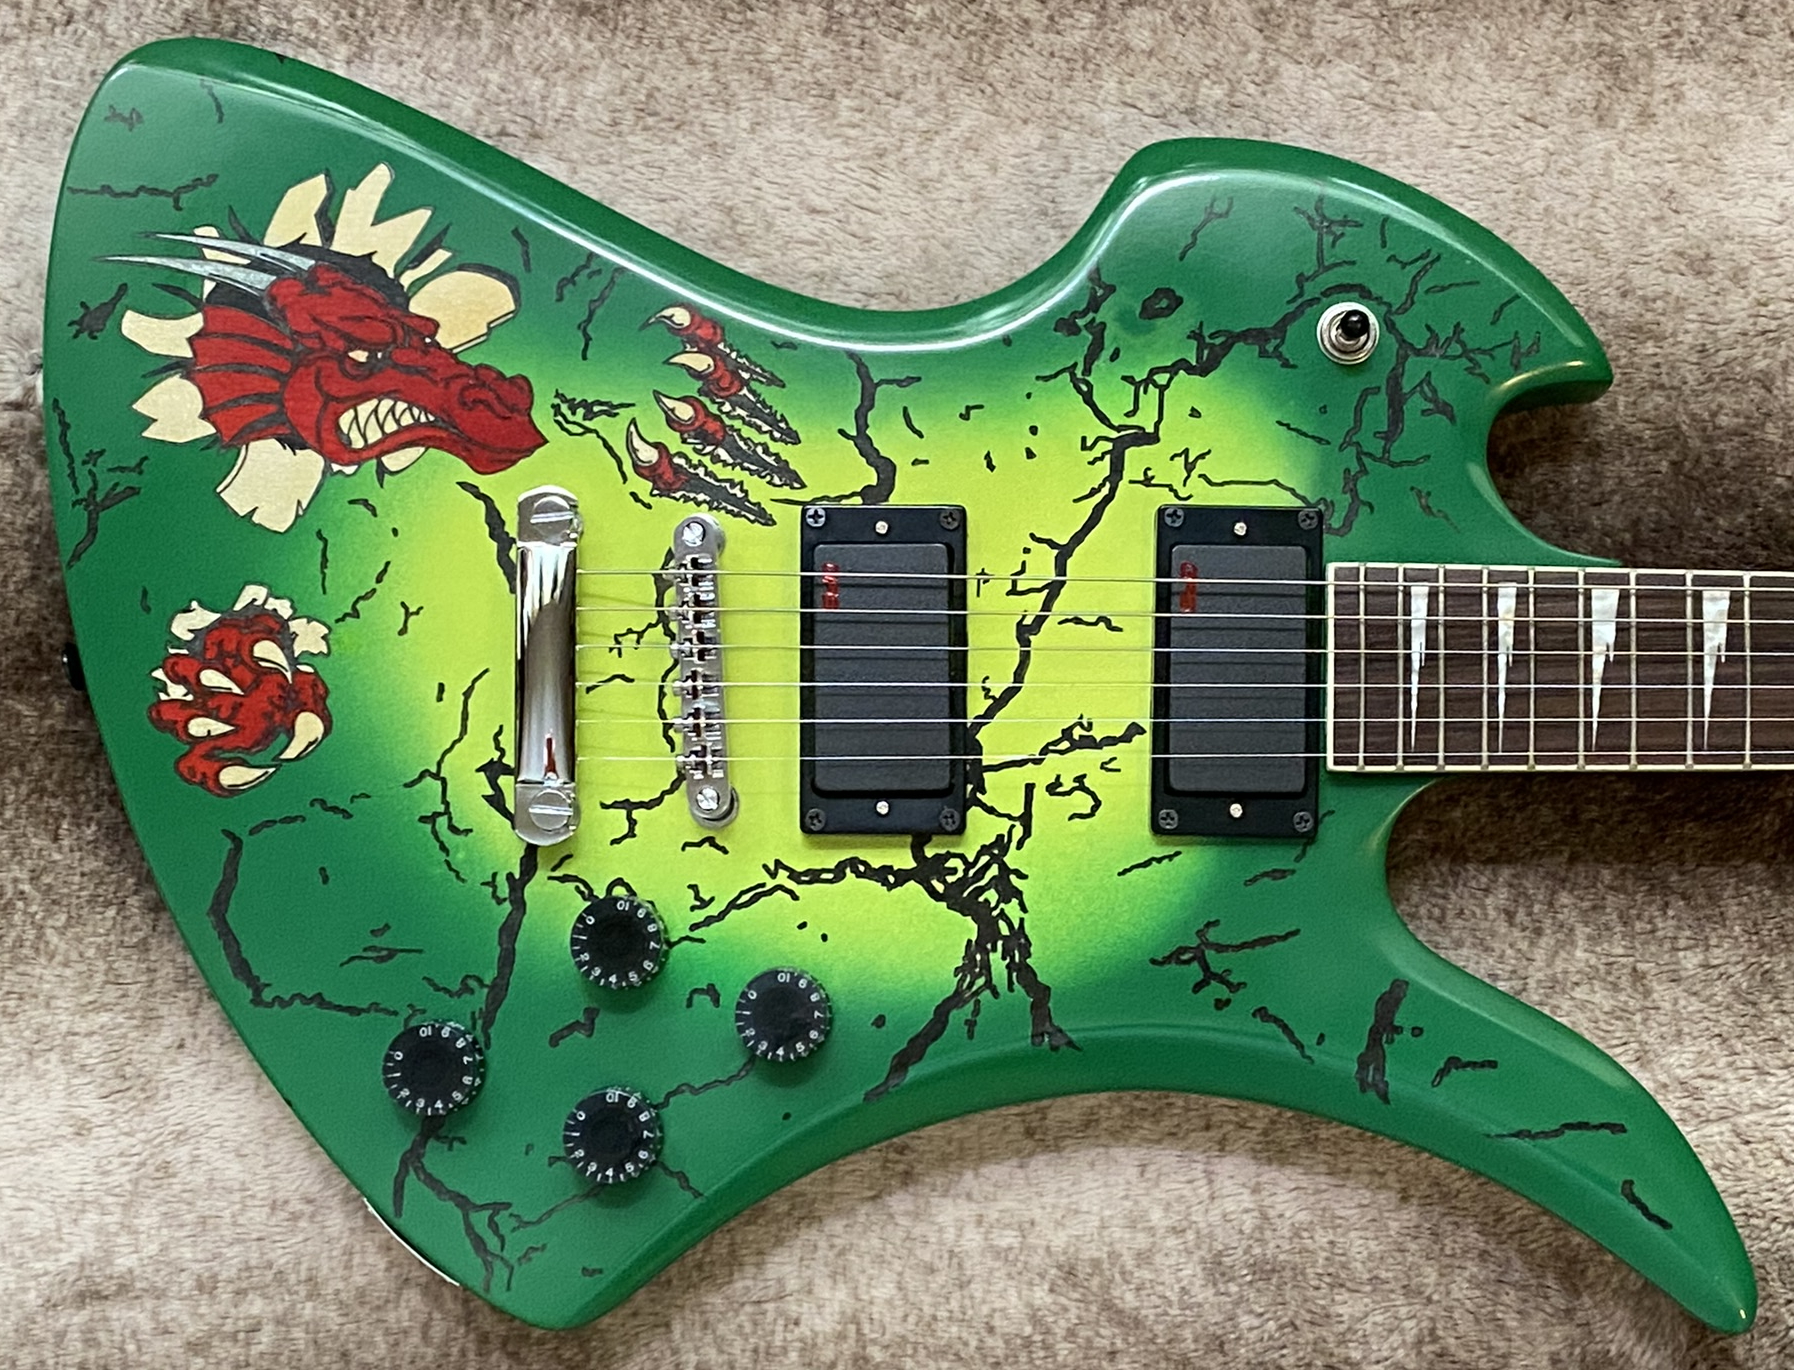
I used a picture of a cracked stucco wall to rout the crack pattern a
few hundredths of an inch deep, then filled this with a mixture of
black mica powder and more clear lacquer. I sporadically mixed in
a little silver to give it some depth and sheen. After getting
the appearance I wanted, I filled the cracks flush with clear
cyanoacrylate glue, and sanded smooth. The thick layer of clear
lacquer over the paint allowed me to sand without disturbing the yellow
and green sunburst.
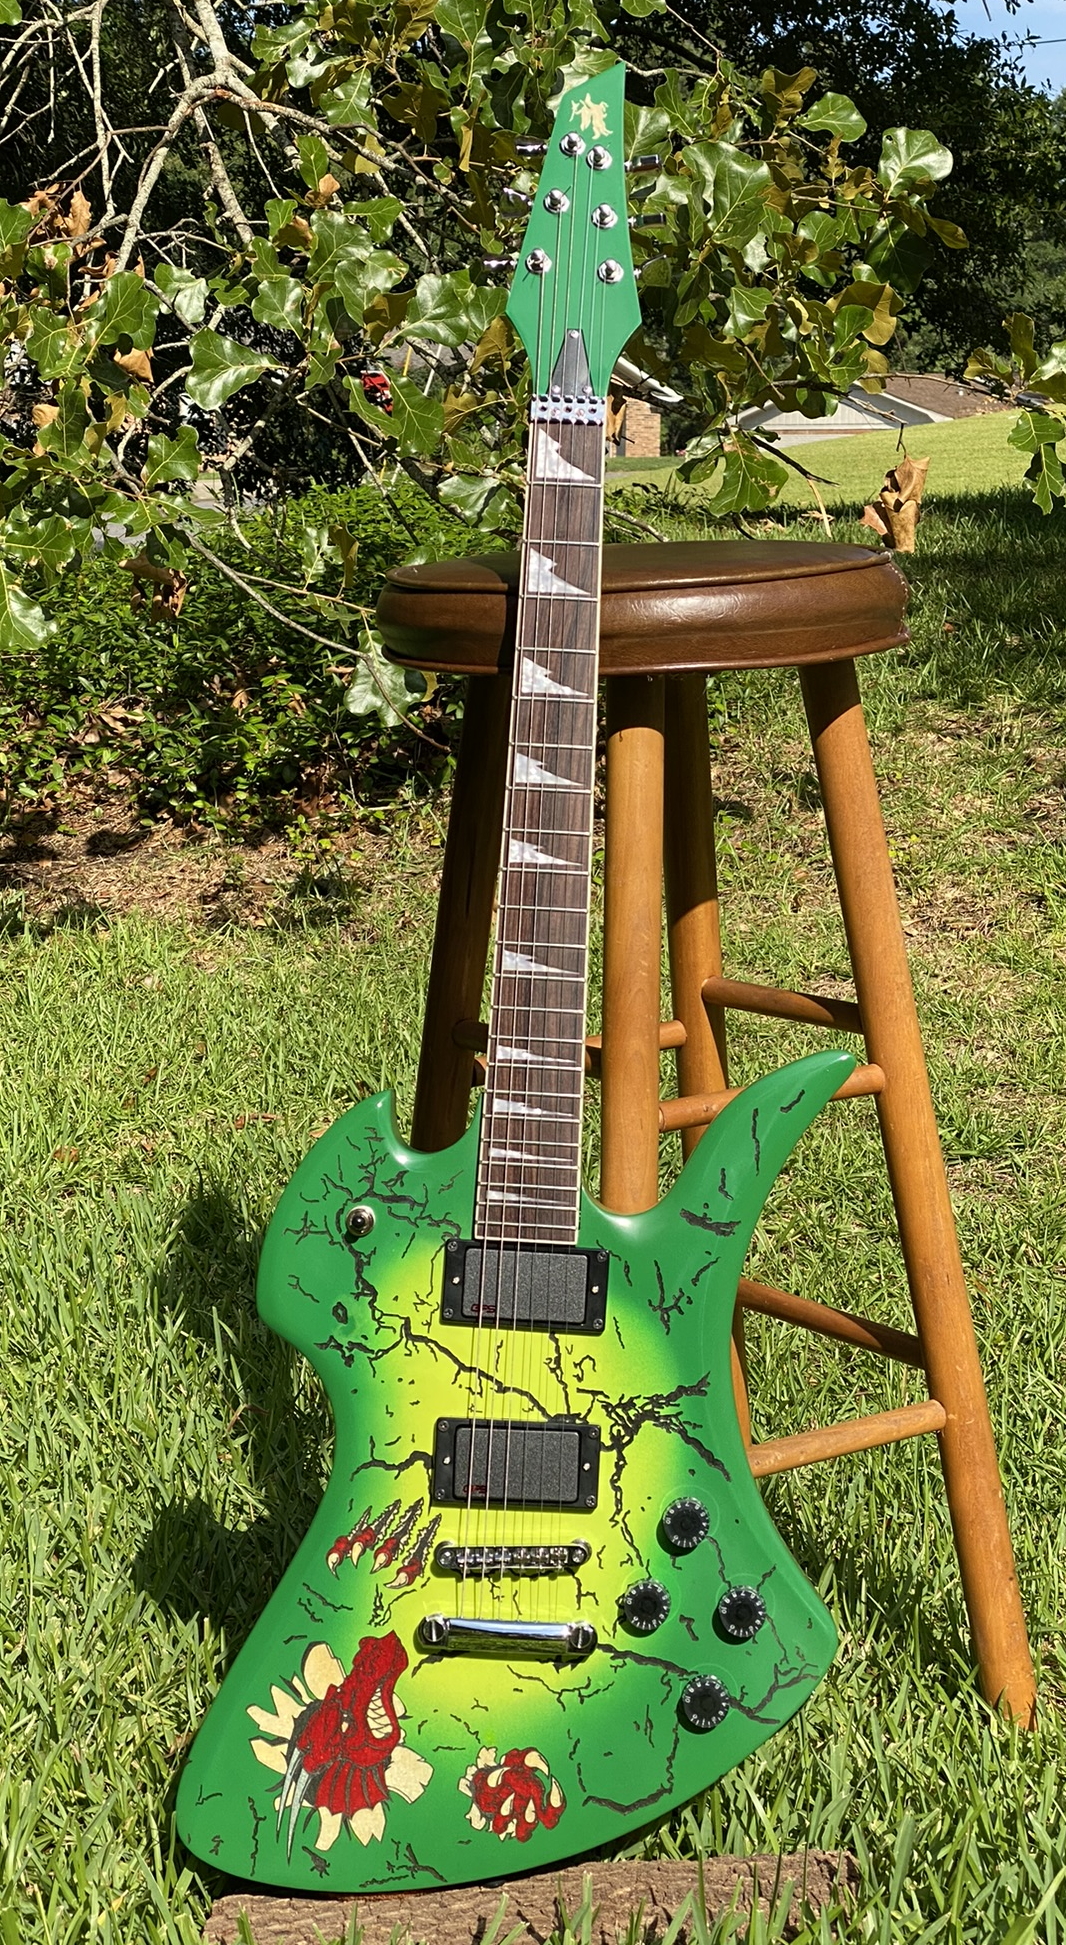
I
adapted the best aspects of a number of graphics to create the dragon's
head and claws, simplifying the color palette, while trying to create
the appearance that the dragon was bursting through the front of the
guitar. I routed each color one at a time, and filled with the
various colors of mica and clear lacquer that you see, using more CA
glue and sanding to bring it back flush after each round. It was
pretty tedious, and it took a good bit of care not to sand down into
the paint and mess up the sunburst.
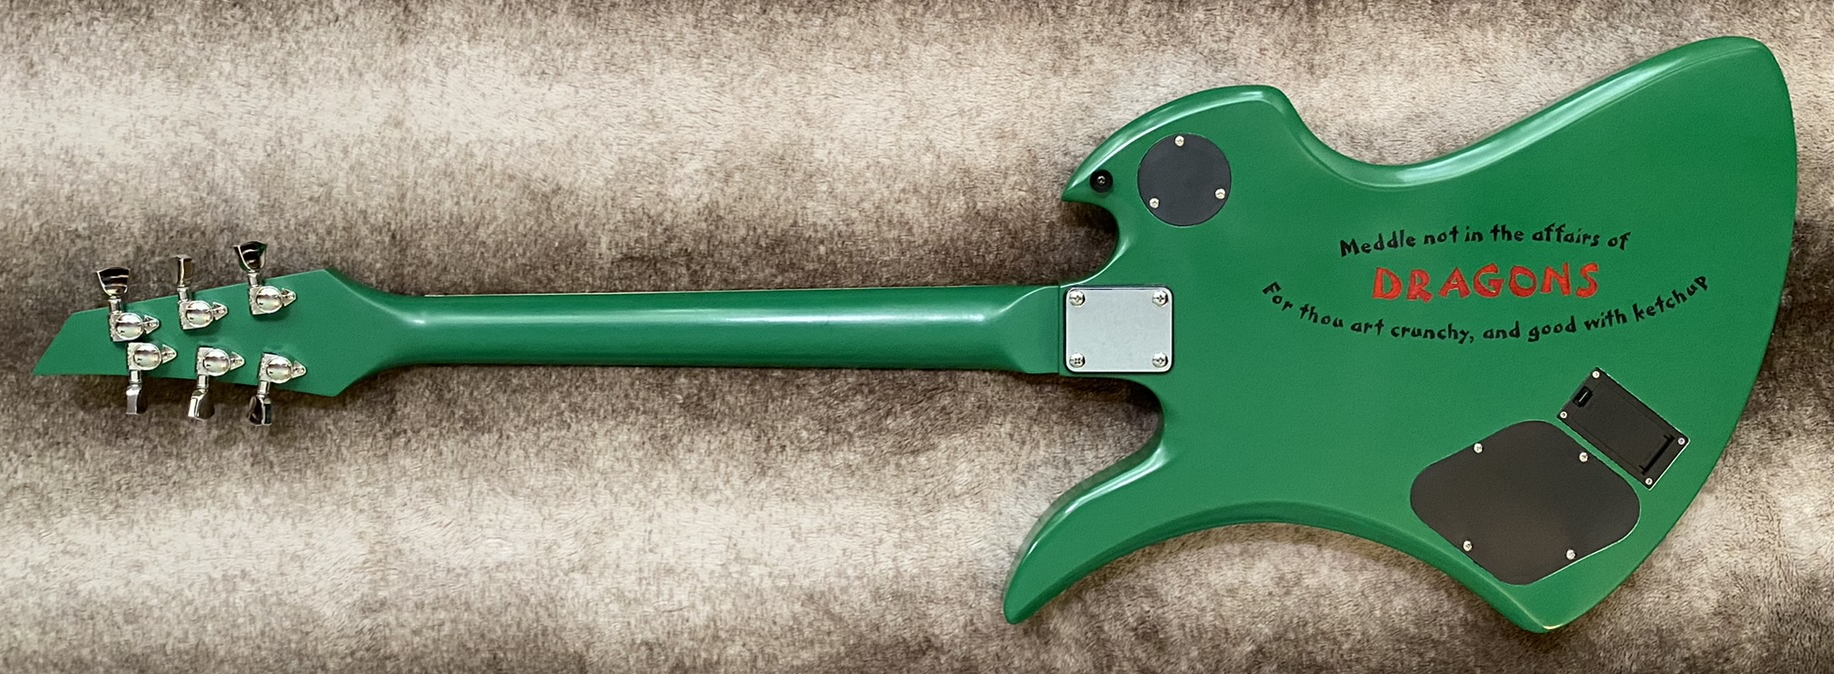
I used the back to learn how to do text engraving with the CNC machine, adding one of my favorite Email signature lines.
When all that was done, I applied more AquaCoat clear lacquer, but it
was a battle not sanding through to paint on all the contoured
edges. And I could never buff it to a glossy finish. So I
ended up spraying it with clear polyurethane, which polished up nicely.
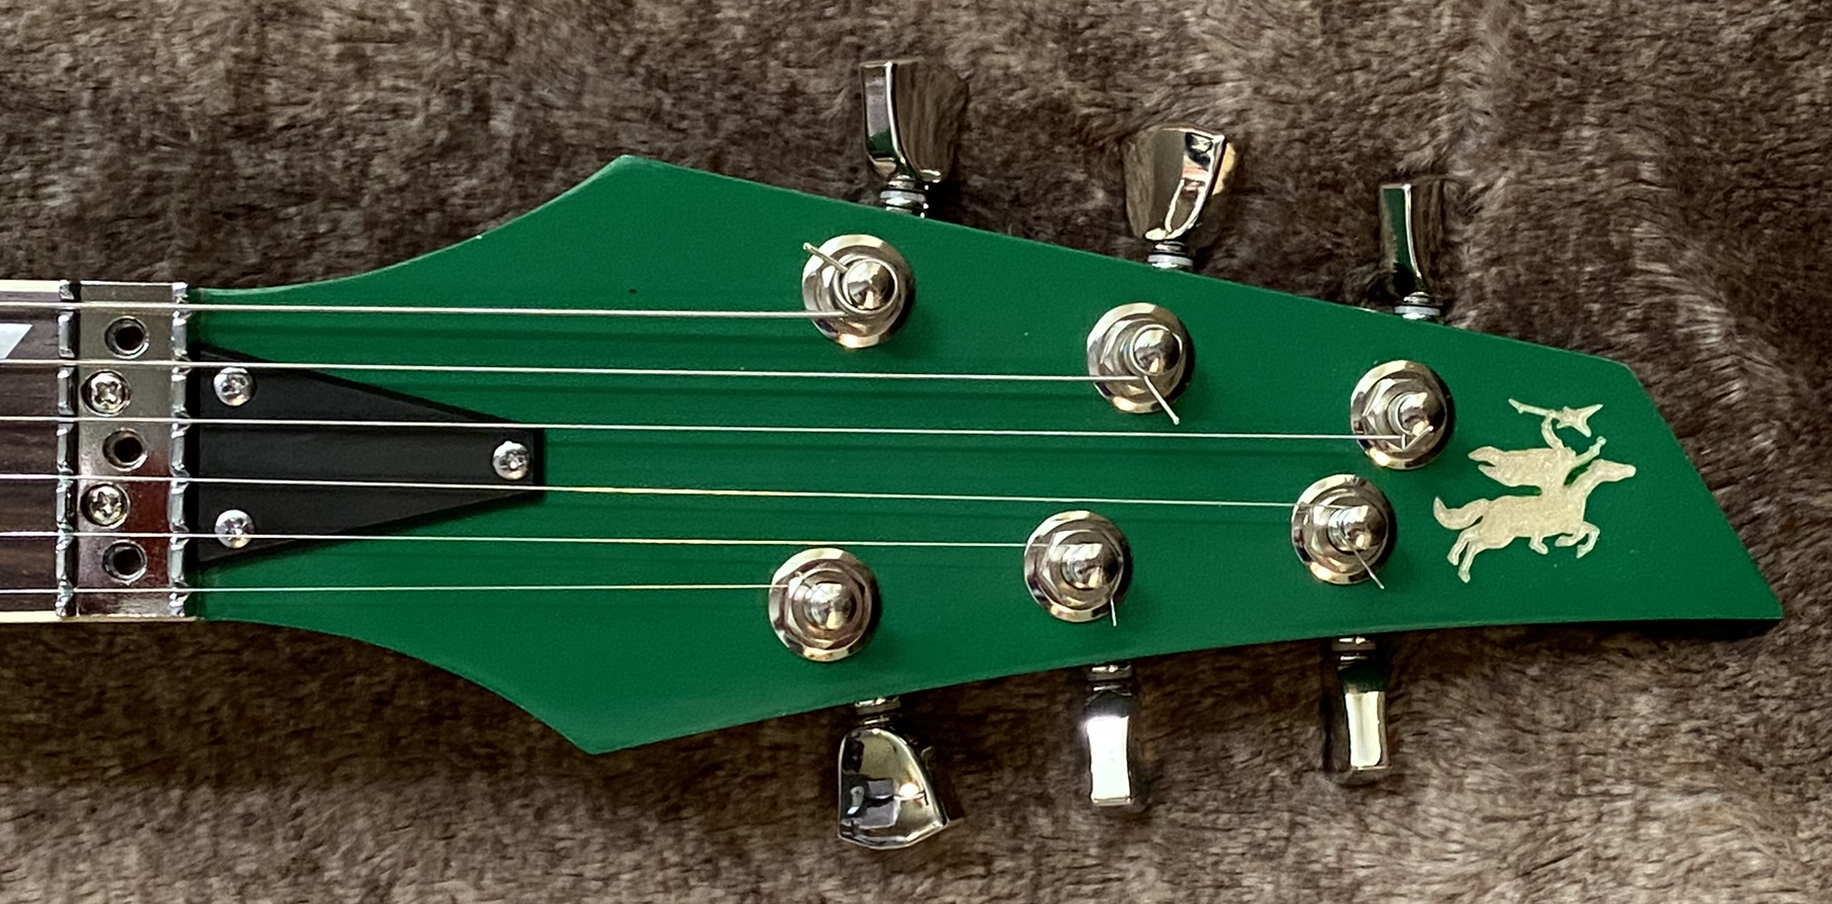
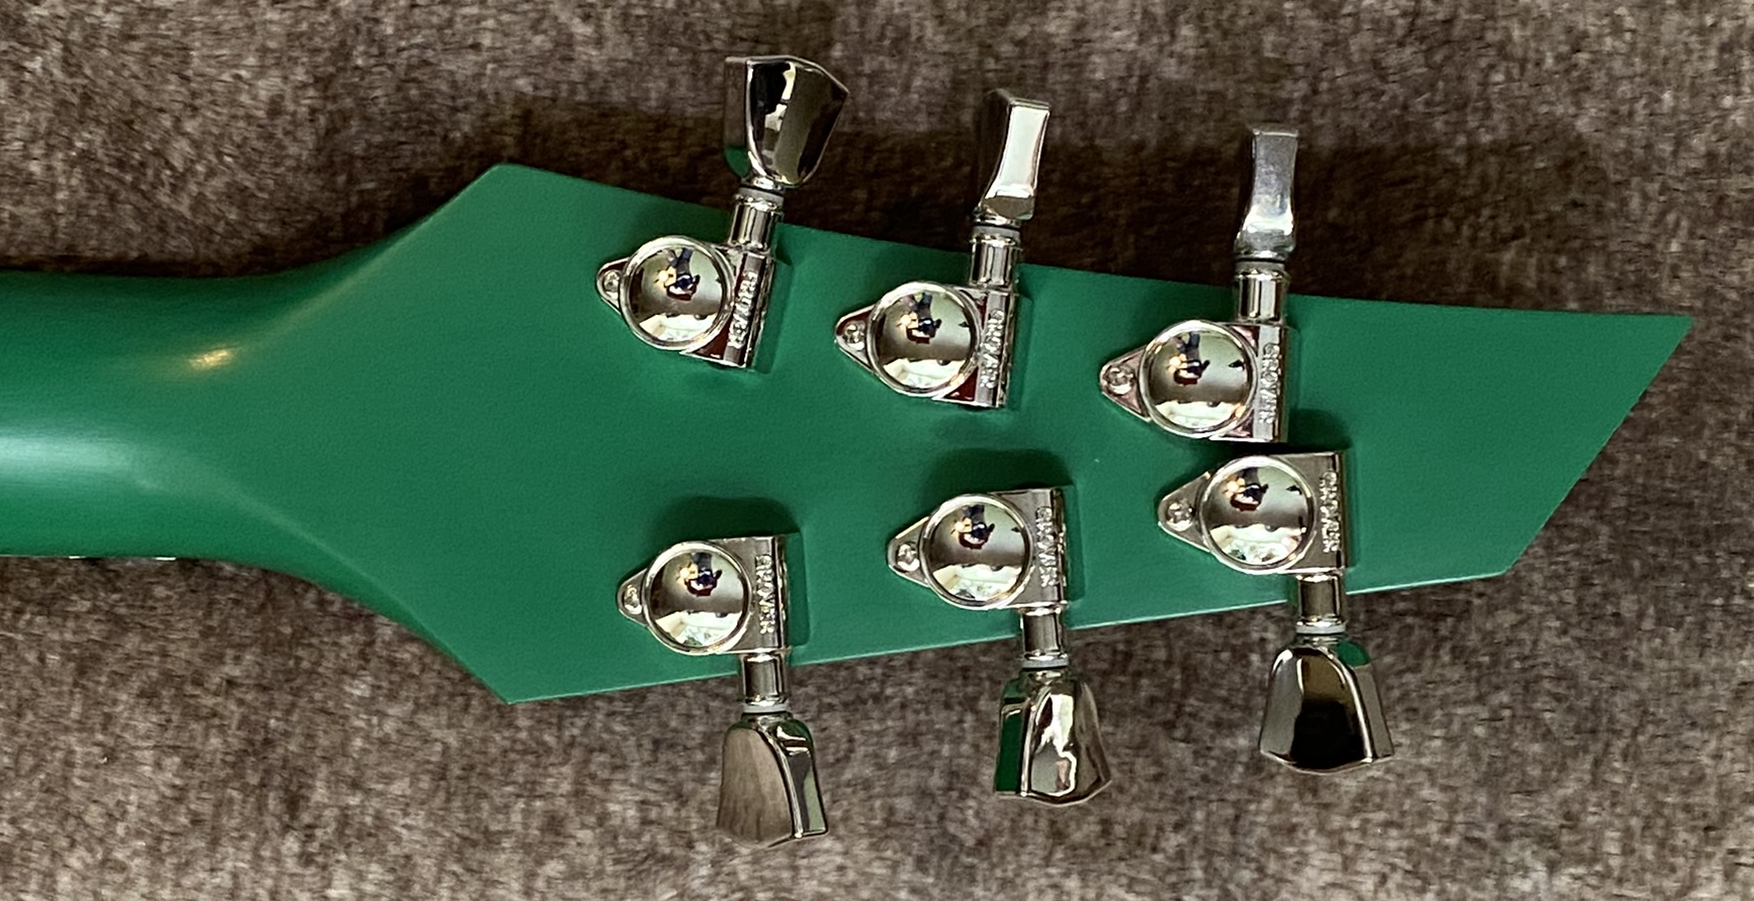
I applied the same green paint to the neck, and used the CNC machine to
rout the headstock logo, filling with white mica and clear lacquer,
similar to the procedure used for the body. The face of the
headstock was given a glossy buff, while the back of the neck was given
a satin wipe-on polyurethane finish.
I used a locking nut (without the clamps) not because I wanted to, but
because the neck had been built to accept one, and it seemed the path
of least resistance. The nut area had not been created with a
great deal of precision, so it took a good bit of detailed filing and
sanding to get it to seat properly. After that, saddle placement,
fret dressing, and neck adjustment went pretty smoothly. But over
time it became apparent that the locking nut was not going to hold tune
well without actually locking it, so it was eventually replaced with a
GraphTech drop-in replacement.
The electronic components were installed, wiring was teased through all
the channels, and the finishing touches were applied, finally bringing
the guitar to life.
The GFS REDactive pickups and associated electronics delivered
everything you hope for in active pickups. There is zero noise
without having to shield the compartments. The bridge pickup is
bright without being shrill, and the neck pickup is round without being
muddy. There are useful tones throughout the range of both the
volume and tone controls, using either clean or distorted amp
settings. All very cool, and distinct from other instruments I
have on hand.